“Create Stunning DIY Hanging Shelves for Your Living Room: A Simple, Stylish Storage Solution”
Table of Contents
DIY hanging shelves are a fantastic way to enhance the style and functionality of your living room. Not only do they free up valuable floor space, but they also add a modern, chic touch to your decor. Follow this DIY hanging shelves tutorial to create your own custom shelves that will transform your living room into a more organized, stylish space.
This guide will walk you through everything you need to know, from choosing the right materials to adding the finishing touches that personalize your shelves. Let’s dive in!
1. Gather Your Materials for DIY Hanging Shelves
Before embarking on your DIY hanging shelves project, it’s important to gather all the necessary materials. Here’s a breakdown of the key supplies you’ll need:
- Wood planks – These will form the base of your hanging shelves. The type of wood you select will impact the overall aesthetic of your shelves.
- Heavy-duty rope or leather straps – These will serve as the hanging mechanism for your shelves. Rope offers a rustic, natural look, while leather straps give a more modern, sleek feel.
- Screws and anchors – You’ll need these to secure the hanging mechanism to the wall and ensure the shelves are sturdy.
- Drill and drill bits – To create holes for the ropes or straps.
- Sandpaper – For smoothing out any rough edges on the wood planks.
- Paint or stain – This is optional, but if you want a specific finish, painting or staining your wood will give it a more polished look.
- Measuring tape and level – These are crucial for precise measurements and ensuring your shelves hang straight.
Pro Tip: Make sure you measure twice before cutting to ensure the wood fits perfectly in your living room space.
2. Choose the Right Wood for Your DIY Hanging Shelves
Selecting the right type of wood for your hanging shelves is an important step that will define the overall look and feel of your living room. Consider the style you want to achieve and the weight capacity required for the items you plan to display.
- Reclaimed wood – For a rustic, farmhouse-inspired look, reclaimed wood is a fantastic choice. It gives off a warm, vintage vibe and works well in more casual, laid-back spaces.
- Pine wood – If you’re going for a more modern, sleek aesthetic, pine wood is a great option. It’s light, affordable, and works well with minimalist decor styles.
- Oak or walnut – These woods are more durable and offer a classic, timeless look. If you want your shelves to stand out as a feature piece, these woods will add a touch of elegance.
Ensure the wood you choose is sturdy enough to support the weight of your decor items. Opt for thicker planks (at least 1 inch thick) to avoid warping or bowing over time.
Pro Tip: If you’re unsure which wood to choose, buy small sample pieces and test them in your living room to see how they complement your existing decor.
3. Cut and Sand the Wood Planks
Once you’ve selected the wood, it’s time to cut it to the desired size. The standard size for a hanging shelf is 24–36 inches long, but you can customize the length based on your available wall space.
- Measure and mark: Measure the length of the shelves you want to create, ensuring they fit within the available space in your living room. Use a measuring tape and pencil to mark the cutting points.
- Cut the wood: Using a circular saw or handsaw, carefully cut the wood along the marks. For straight cuts, use a guide to ensure the lines are even.
- Sand the edges: Sand the edges and surface of the wood to remove any rough spots. Start with coarse-grit sandpaper and finish with finer-grit paper for a smooth finish. This will ensure your shelves are safe to handle and look polished.
Pro Tip: To create a more polished look, consider adding wood stain or paint after sanding. Choose a color that complements your living room decor for a cohesive design.
4. Measure and Mark the Placement for the Ropes or Straps
Now that you have your wood ready, it’s time to plan where the ropes or straps will go. This step is crucial to ensuring your shelves are balanced and secure.
- Decide the placement: Determine how high or low you want your shelves to hang. Use a measuring tape to ensure they are spaced evenly.
- Mark the holes: Using a pencil, mark the spots on the wood where you’ll drill holes for the ropes or straps. The marks should be at least 2–3 inches from the edges of the wood to ensure stability.
Pro Tip: If you want a more dramatic look, consider hanging multiple shelves at varying heights. This creates an artistic, floating effect in your living room.
5. Drill Holes for the Hanging Mechanism
Using a drill, carefully drill holes where you marked on the wood planks. Make sure the holes are slightly wider than the rope or leather straps you’ll be using, so they fit securely. If you’re using a thicker rope, use a larger drill bit.
- Drill for ropes: For rope, drill two holes at the top of the shelf, one on each side. If you’re using leather straps, drill the holes large enough to fit the straps comfortably.
- Drill holes at the top for securing: For added security, you can also drill small holes at the top of the wood to ensure the ropes or straps stay in place.
Pro Tip: If you’re drilling through particularly thick wood, consider pre-drilling smaller holes first to prevent the wood from cracking.
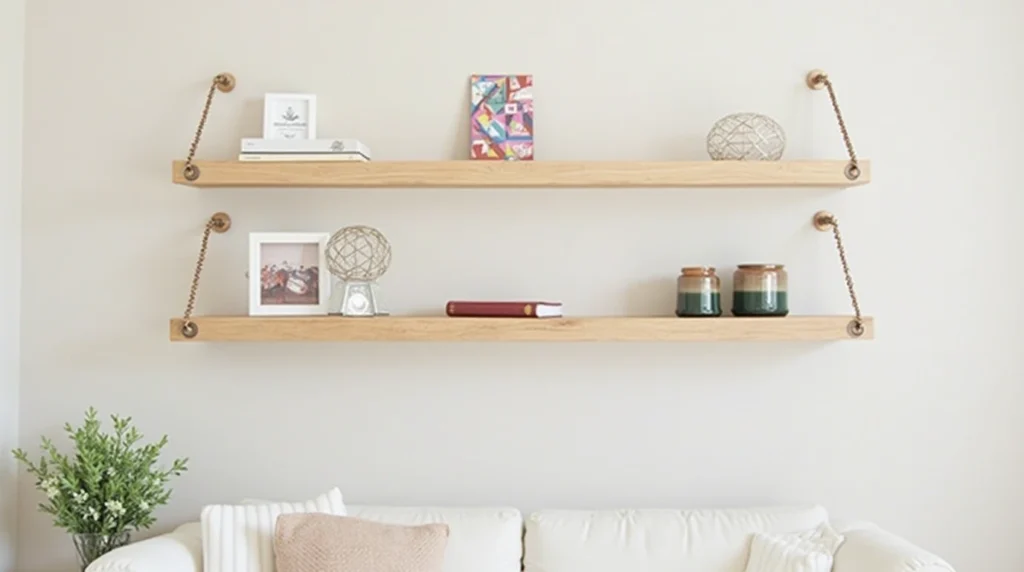
6. Attach the Ropes or Straps
Now comes the fun part—attaching the hanging mechanism! Depending on your aesthetic preference, you can choose between heavy-duty rope or leather straps.
- For rope: Cut two equal lengths of rope, making sure both pieces are long enough to reach from your ceiling or wall anchors. Thread the rope through the holes you drilled, tie knots underneath to secure the shelf, and adjust the length as needed.
- For leather straps: Loop the leather straps through the drilled holes, and attach them to a hook or screw fixed into the wall above the shelf. Leather straps create a sleek, modern look and work well in more contemporary spaces.
Pro Tip: If you want extra flair, consider using decorative knots with the rope or choose leather straps in a bold color to contrast with the wood.
7. Secure the Shelves to the Wall
Once your hanging shelves are ready, it’s time to secure them to the wall.
- Locate the studs: Use a stud finder to locate the studs in your wall. Hanging your shelves on the studs will provide maximum support and prevent the shelves from falling.
- Install the anchors: Drill screws or anchors into the studs, ensuring they’re placed to hold the ropes or straps securely. If you’re using rope, ensure the screws are tight enough to support the weight.
- Use a level: Before fully securing the shelf, use a level to ensure it hangs straight. This will give your DIY hanging shelves a professional finish.
Pro Tip: If you’re unsure where to place the screws, mark their position on the wall with a pencil and measure the spacing for accuracy.
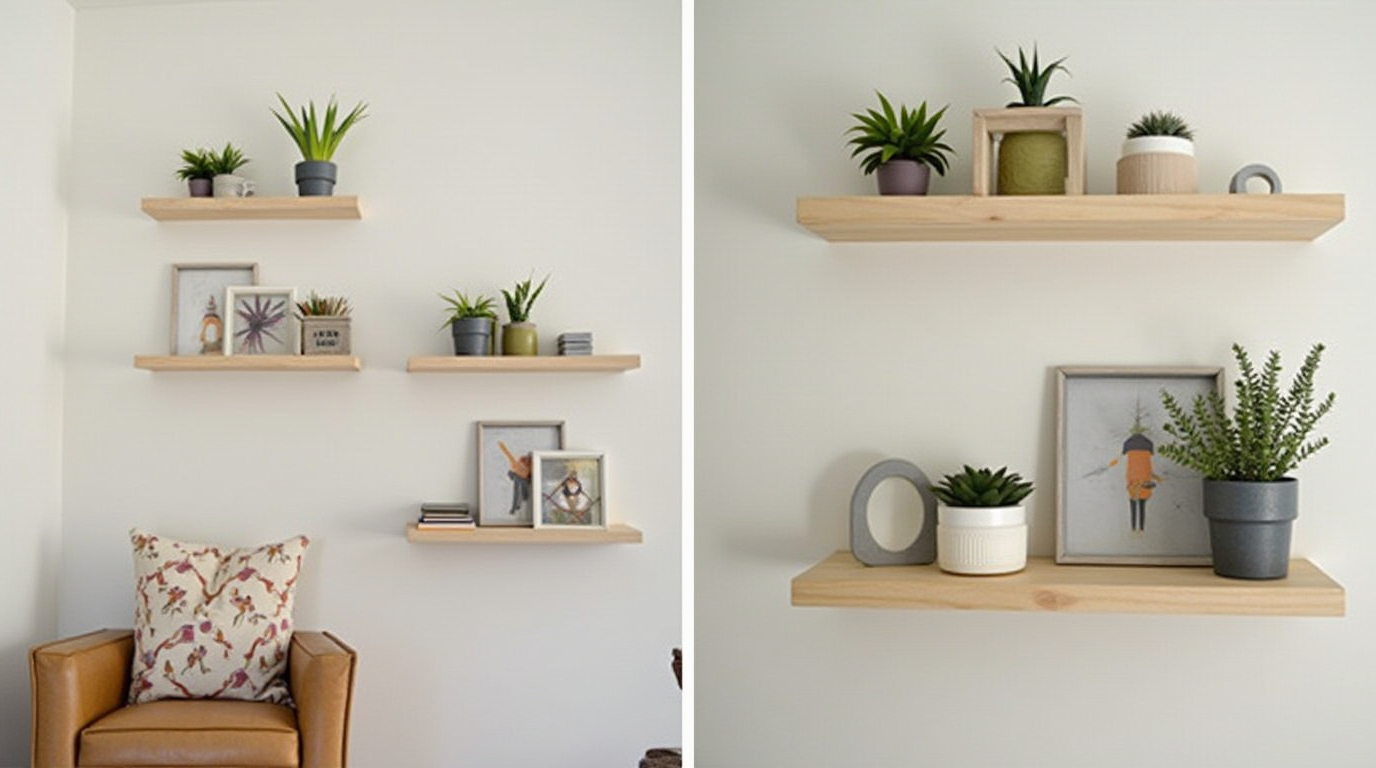
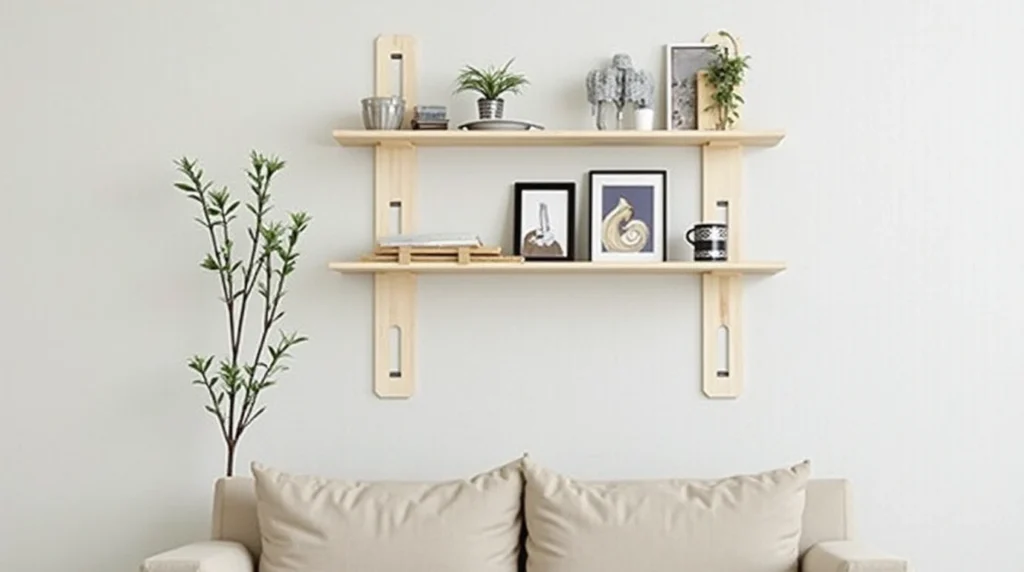
8. Add Your Favorite Decor
Once your DIY hanging shelves are securely installed, it’s time to add some personality to them with your favorite decor.
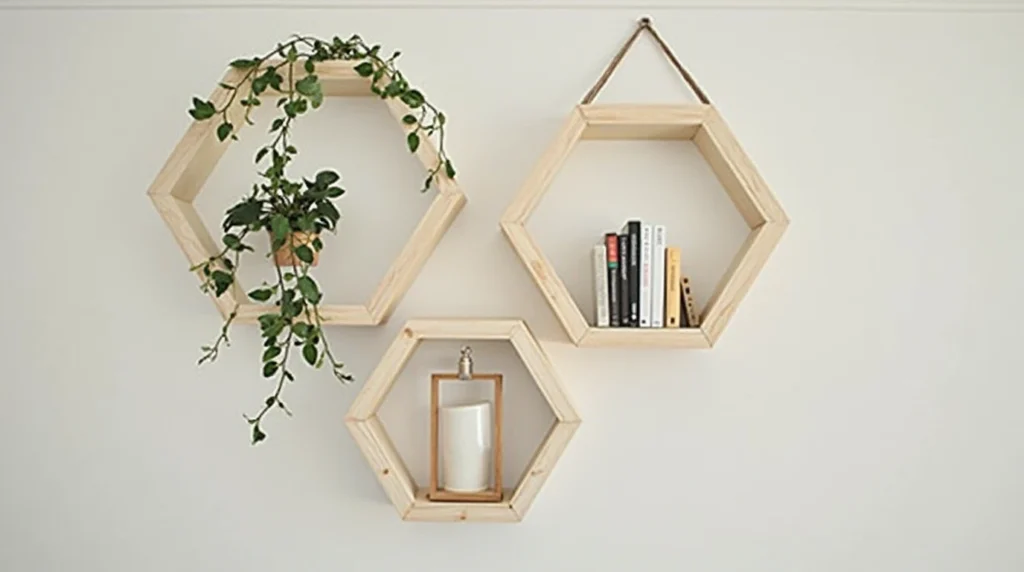
- Books: Stack your favorite books on the shelves for an elegant, organized look.
- Plants: Add potted plants or hanging planters to bring life and greenery into the space.
- Candles and artwork: For a cozy touch, place candles or small pieces of artwork on the shelves.
The beauty of DIY hanging shelves is that they can be customized to reflect your personal style. Whether you prefer a minimalist vibe or an eclectic mix, these shelves can be adapted to any aesthetic.
9. Ensure the Shelves Are Secure
After decorating your shelves, double-check that they’re secure and level. Adjust the placement of the ropes or straps if necessary to ensure the shelves are still holding the weight of your decor.
Pro Tip: If you plan on adding heavier items, such as large plants or sculptures, you may want to reinforce the ropes or straps for added stability.
Conclusion
Creating your own DIY hanging shelves for your living room is a fun and rewarding project that adds both style and functionality to your space. With just a few materials and some creativity, you can create a beautiful and personalized storage solution that frees up valuable floor space while adding a modern, chic touch to your decor. Enjoy the satisfaction of making something yourself while transforming your living room into a space that reflects your personal taste and organization needs.